
The Art of Braising: Tough Cuts, Tender Results
A deep dive into low-and-slow cooking — which cuts to choose, what liquid to use, and how to get that melt-in-your-mouth finish
5/1/20262 min read

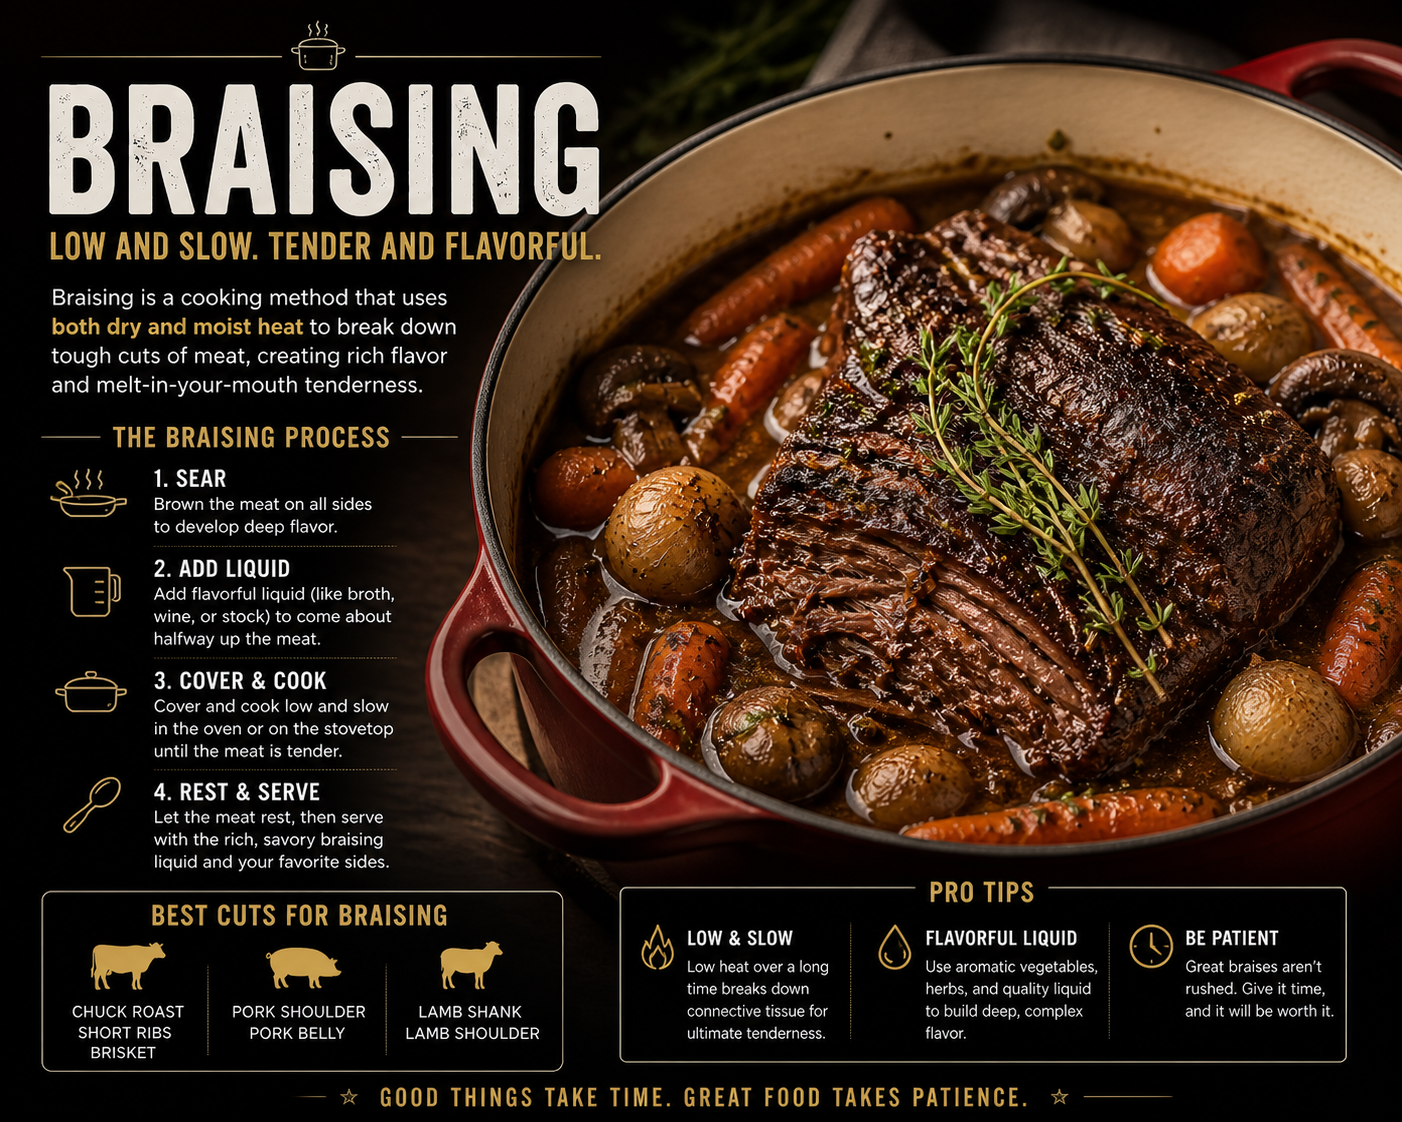
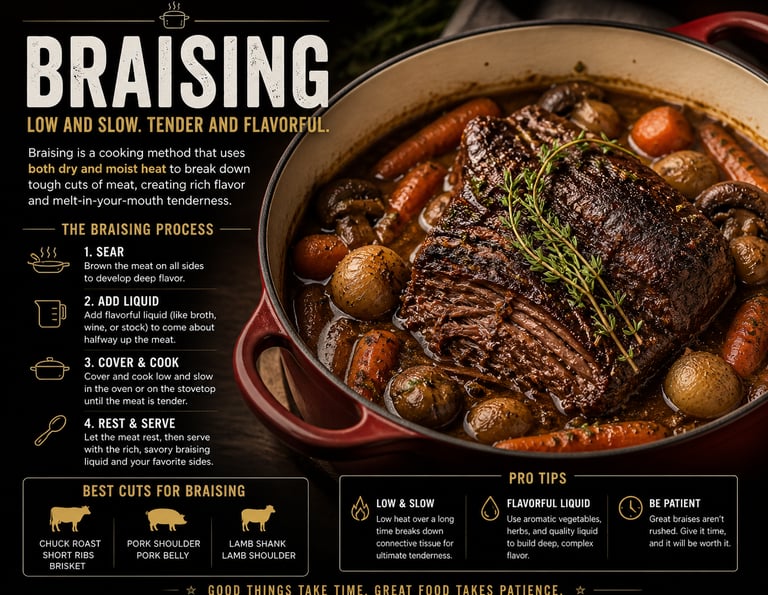
Braising is alchemy. It takes the least expensive, most neglected cuts of meat — the ones that are too tough for quick cooking — and transforms them into something extraordinary. Falling-apart brisket. Silky short ribs. Pork shoulder that collapses at the touch of a fork. All of it achieved through time, moisture, and gentle heat.
Why tough cuts work best
Cuts like beef cheeks, lamb shanks, pork shoulder, and chicken thighs have one thing in common: high levels of collagen, a connective tissue that runs through hard-working muscles. When cooked quickly, collagen is tough and chewy. But when cooked low and slow in liquid, it breaks down into gelatin — the substance responsible for that luxurious, lip-coating richness you find in a well-braised dish.
Tender cuts like fillet or loin have very little collagen, which is why they are suited to fast, high-heat cooking. Put them in a braise and they become dry and chalky. Always match the technique to the cut.
The braise setup
You will need a heavy-bottomed pot with a tight-fitting lid — a Dutch oven or a cast-iron casserole is ideal. The pot should be large enough to hold the meat snugly without overcrowding, but not so large that the liquid barely covers the base.
Start by searing the meat on all sides over high heat to develop colour and flavour. Remove the meat and build your aromatics in the same pot — onion, carrot, celery, garlic, and tomato paste form a classic base. Add your liquid, return the meat, and bring to a gentle simmer before transferring to the oven.
Temperature and time
A braise should cook at around 140–160°C (275–325°F) in the oven. You want a very gentle simmer — the liquid should be barely bubbling. A vigorous boil will tighten the proteins and toughen the meat.
Cooking times vary by cut: lamb shanks take about 2.5 hours, pork shoulder 3–4 hours, beef cheeks 3–4 hours, beef short ribs 4–5 hours. The meat is done when it offers no resistance to a fork or skewer inserted into the thickest part.
Building the braising liquid
The braising liquid becomes the sauce, so it must be flavourful from the start. Use stock as your base — always stock, never plain water, which produces a thin, insipid result. Add wine (red for red meat, white for pork and poultry) and aromatics: bay leaves, thyme, rosemary, and a strip of orange or lemon peel.
The liquid should come about halfway up the meat, not fully submerge it. The upper half cooks in steam, the lower half in liquid — together they cook the meat evenly from all directions.
The finishing touch
Once the meat is tender, remove it and strain the braising liquid into a wide saucepan. Skim off the fat from the surface, then reduce the liquid over high heat until it reaches a sauce-like consistency. Taste, adjust seasoning, and you have a sauce that carries every ounce of flavour from the entire cook.
For the best results, cool the braised meat in its liquid overnight in the refrigerator. The flavour deepens significantly, and the fat rises to the surface where it can be easily lifted off.
Braising rewards patience above all else. There is no shortcut, no hack, no workaround. You put time in and time gives you tenderness. Embrace the wait — it is always worth it.
Tags: Braising, Slow Cooking, Techniques, Meat