
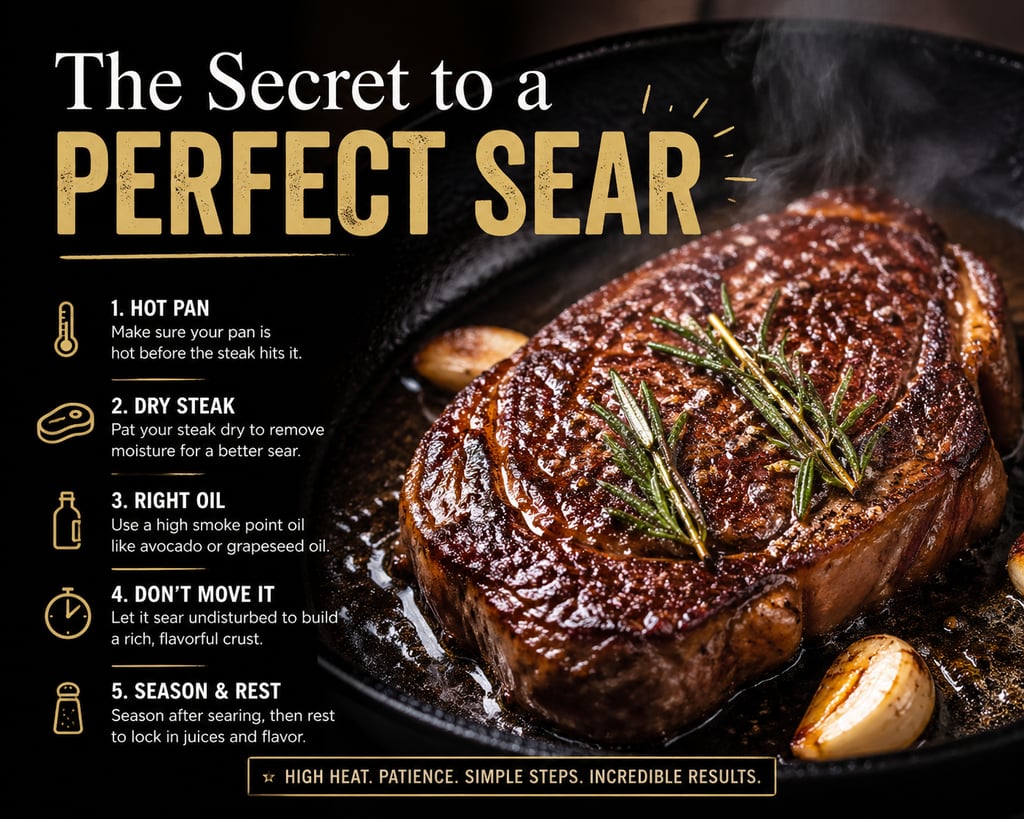
The Secret to a Perfect Sear
Why high heat, dry surfaces, and patience are the trio behind a restaurant-quality crust
5/1/20263 min read


Walk into any great steakhouse and you'll notice something the moment your plate arrives: that deep, mahogany crust. Crackling at the edges. Fragrant with caramelised meat. It looks intimidating, but the truth is that a perfect sear is within reach of any home cook — as long as you understand the three principles behind it.
Why does searing matter?
Searing is the process of cooking the surface of meat or fish at very high heat until a crust forms. It is sometimes described as 'sealing in juices' — a popular myth that science has thoroughly debunked. What searing actually does is trigger the Maillard reaction: a chemical process that occurs when proteins and sugars are exposed to high heat, producing hundreds of new flavour and aroma compounds.
In short, the crust is flavour. Skip the sear and you skip the most important layer of taste in the dish.
Principle 1: High heat
The Maillard reaction begins at around 140°C (285°F) and accelerates dramatically above 160°C. Most home cooks make the mistake of adding protein to a pan that hasn't fully preheated — the result is steaming rather than searing, and you end up with grey, textureless meat.
Use a cast iron skillet or a heavy stainless steel pan. These materials retain heat well and recover quickly when cold protein hits the surface. Place the pan over high heat for at least 2–3 minutes before adding any oil. You'll know it's ready when a drop of water flicked into the pan evaporates almost instantly.
Principle 2: Dry surfaces
Moisture is the enemy of the sear. Water on the surface of meat must first evaporate before the temperature can rise high enough for browning to occur — and evaporation takes energy and time. By the time the water has cooked off, your pan has cooled and the window for a great crust has narrowed.
Always pat your protein completely dry with paper towels before seasoning. For even better results, season steaks generously with salt and leave them uncovered on a rack in the refrigerator for at least an hour (or overnight). The salt draws out moisture, which then gets reabsorbed, seasoning the meat deeply — and the surface dries out beautifully.
Principle 3: Patience
Once you place the protein in the pan, leave it alone. This is the hardest part for most cooks. The natural instinct is to move it, check it, prod it. Resist.
When meat is ready to release from the pan, it will release on its own. If you try to lift it and it sticks, it is telling you it is not ready. Give it another 30–60 seconds and try again. The crust needs uninterrupted contact with the hot surface to form properly.
How long depends on the thickness and the protein — a 2cm steak might take 2–3 minutes per side, while a chicken thigh with skin might need 4–5 minutes before it releases.
The fat question
Use an oil with a high smoke point: avocado oil, refined sunflower oil, or clarified butter (ghee) are all excellent choices. Add just enough to coat the pan — about a tablespoon for a 30cm pan. Add the oil just before the protein goes in, not before the pan heats up, as this helps prevent burning.
Add a knob of whole butter in the last minute of cooking and baste the protein with the foaming fat — this adds richness, colour, and a nutty depth that finishes the sear beautifully.
Common mistakes to avoid
• Overcrowding the pan — too much protein drops the temperature and causes steaming
• Using a non-stick pan — they can't handle high enough heat for a proper sear
• Moving the protein too soon — trust the release
• Skipping the rest — always rest seared meat before cutting to redistribute juices
Master the sear and you have mastered one of the most fundamental transformations in cooking. Everything else — the sauce, the sides, the seasoning — supports it. But the crust? That is the centrepiece.
Tags: Cooking Techniques, Meat, Fundamentals